
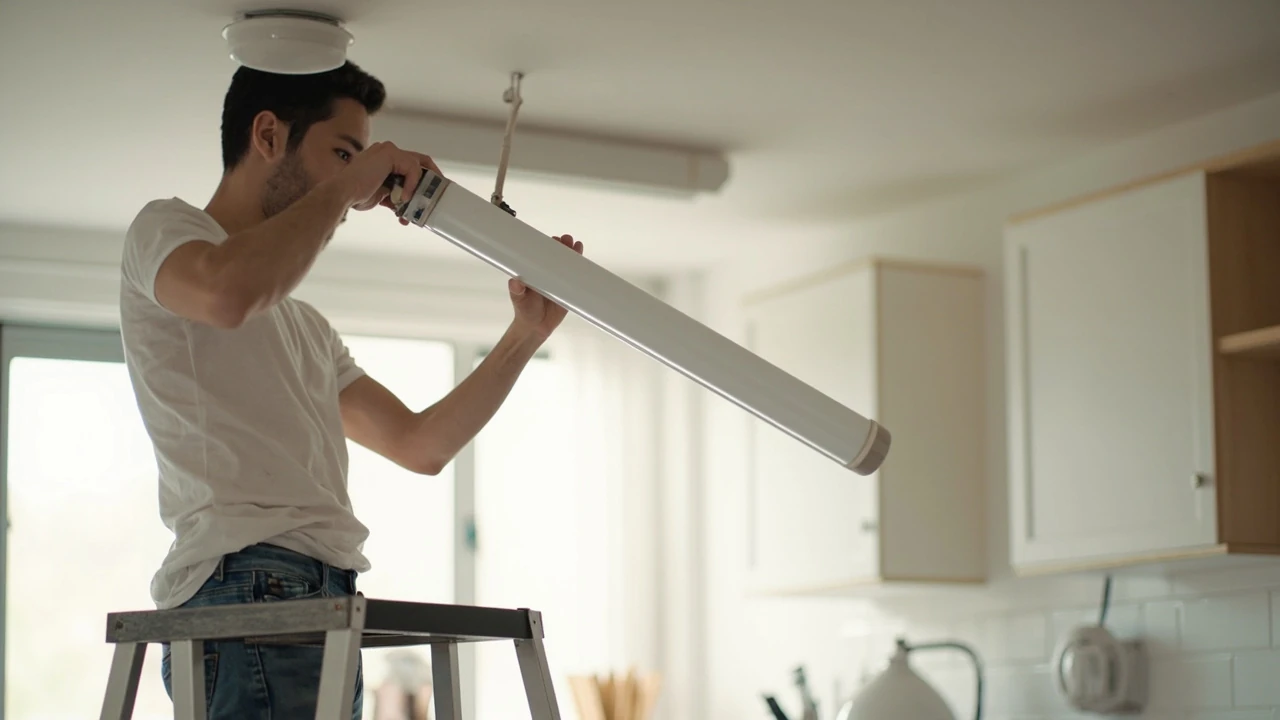

How to change a fluorescent light bulb without damaging the fixture
You walk into the kitchen and notice the hum, the flicker, or the dark stripe along the center of the tube. A fluorescent fixture that buzzes, blinks at start-up, or lights only at the ends is asking for a tube replacement, and a working knowledge of the steps saves a service call. The job is straightforward, but the small choices you make while the tube is in your hands decide whether the new bulb lasts a season or a decade. This guide covers how to change a fluorescent light bulb the right way, from the safest removal angle to the often-skipped decision about the ballast and whether to keep fluorescent tubes at all.
Most homeowners who hesitate are not afraid of the tube. They are unsure how the fixture is held together, what to do if the cover is stuck, and whether the new bulb has to match the old one exactly. The rest of this page answers each of those questions in order, then walks through disposal, common failure causes, and the increasingly common choice to retrofit the fixture to LED.
What you will need before you start
Tools and supplies are minimal, but a few items are worth having within reach. A flat surface to set the old tube on, a cloth to grip an end cap, and a stable step stool prevent the awkward reaches that cause cracked plastic covers and dropped tubes.
- Replacement tube of the correct length, wattage, and color temperature
- Replacement starter (only for fixtures that use one; not all do)
- Step stool or short ladder rated for the work height
- Clean cloth or nitrile gloves for grip and to keep glass clean
- Non-contact voltage tester, in case you want to confirm the power is off
- Small flat screwdriver, useful for releasing spring-loaded covers
- Trash bag for the old tube, kept upright to avoid cracking
Before climbing up, look at the old tube and read the printed label. The length in inches or millimeters, the wattage, the color temperature in Kelvin, and the bulb designation (such as F32T8 or F40T12) are the four numbers that matter most. Buying a tube that only matches length but differs in diameter or pin spacing is the single most common reason a new bulb will not seat.
Safety first: cut the power and protect yourself
Fluorescent fixtures run on standard household voltage, and while the current through a tube is low, the lamp holders and wiring behind the cover are not. A quick flip of the wall switch is a good habit, but it is not the same as cutting the breaker. Treat the fixture as live until you have removed the cover and, if possible, verified the absence of voltage.
Wear gloves when handling an old tube, because years of heat cycling can leave the glass brittle and the end caps sharp. If a tube has been flickering, leave the fixture off for a few minutes before touching it; hot end caps can cause small burns. Keep children and pets in another room; a dropped tube on a hard floor creates a fine spray of phosphor-coated shards that are difficult to sweep up completely.
Identifying your fixture type
Three broad fixture types cover almost every residential fluorescent installation. Knowing which one you have changes the removal motion and the tube style you will buy.
- Strip or shop fixture: an open channel with two or four lamp holders, no diffuser, common in garages, basements, and utility rooms.
- Wraparound fixture: a single-piece acrylic cover that snaps onto a metal housing, common in kitchens, hallways, and laundry rooms.
- Troffer or recessed fixture: a ceiling-set panel with a framed diffuser, common in dropped ceilings and older basements.
If you cannot tell from the shape, count the pins on one end of the old tube. Two pins indicate a rapid-start or instant-start magnetic ballast configuration, which is the most common in U.S. homes. Four pins indicate a more modern electronic ballast that accepts plug-in compact fluorescents or, after retrofit, plug-in LED tubes.
Removing the cover and the old tube
For a wraparound fixture, the cover usually slides a few inches toward one end and then drops free. Press gently inward on the long side and look for the arrow or notch that indicates the release direction. For a recessed troffer, the diffuser is held by small metal tabs that you pinch or rotate a quarter turn with a flat screwdriver. For an open strip fixture, you can usually reach the tubes directly.
Once the cover is out of the way, grip the old tube near one end cap and rotate it about a quarter turn in either direction. The end cap has two small pins that sit in slots; rotating aligns the pins with the wider part of the slot, freeing the tube. Support the other end at the same time so the tube does not swing and crack against the fixture housing. Lower the tube straight down, keeping it level. Set it on a flat surface or directly into a trash bag.
Inspecting the fixture before you install the new tube
A new tube on a tired fixture often looks like a bad tube. Before opening the packaging, look at three things.
- Lamp holders: the springy plastic pieces at each end of the fixture. If a holder is cracked, darkened, or sags when you press it, the new tube will sit crooked and the connection will be intermittent.
- Starter: a small cylindrical can, usually twist-in, found only on older magnetic-ballast fixtures. If the tube has been slow to start, a $2 starter is worth replacing alongside the tube.
- Ballast area: the metal box behind the lamps. Buzzing, a faint burning smell, or a plastic housing that is brown and brittle means the ballast is failing. Installing a new tube on a failed ballast will cause rapid end-blackening or no light at all.
Clean the inside of the fixture with a dry cloth while the cover is off. Dust on the tube and on the lamp holders is the second most common cause of dim, uneven light right after a failing tube itself.
Installing the new tube
Line up the new tube so the two pins at one end sit in the open part of the slot in the lamp holder. With both ends engaged, rotate the tube a quarter turn in the same direction the old one came out. You should feel a small, firm click as the pins seat against the contacts. If the tube feels loose, double-check the pin count; a T8 will not seat in a T12 holder and vice versa, even though the lengths are often identical.
Once both ends are seated, restore power at the switch or breaker. A healthy new tube should reach full brightness within one to two seconds. A slow start, a brief flicker, or a noticeable delay means the lamp holder, starter, or ballast needs attention before you put the cover back.
Common mistakes to avoid
Most failed replacements come from one of a small set of issues that are easy to prevent.
- Mixing T8 and T12 tubes: the diameter, pin spacing, and ballast compatibility are different. The wrong combination causes flicker, shortened life, or no start.
- Forcing the cover back on: a misaligned diffuser can crack the new tube end caps. Recheck the slot direction before pressing.
- Skipping the starter replacement on an old fixture: a worn starter can make a good tube look bad, and the part is cheap.
- Touching the glass with bare hands: oils create hot spots that shorten tube life. Use a clean cloth when possible.
- Disposing of tubes in regular trash without checking local rules: many municipalities treat fluorescent tubes as universal waste because of mercury content.
When the problem is not the bulb
Sometimes a new tube does not fix the symptom. The table below matches the most common complaints to the likely cause and the practical next step.
| Symptom | Likely cause | First thing to check |
|---|---|---|
| Flickers at start, then stabilizes | Aging tube, low temperatures, or a tired starter | Replace the tube; on older fixtures, also replace the starter |
| Blinks continuously | Tube is at end of life, ballast is failing, or a poor contact at the lamp holder | Reseat the tube; if blinking continues, test with a known-good tube |
| Blackening at one or both ends | Tube near end of life, or ballast running too hot | Replace the tube; if a new tube blackens quickly, inspect the ballast |
| Buzzing with no light | Ballast failure or, on newer fixtures, a failed driver | Test the tube in another fixture; if it works elsewhere, replace the ballast or the fixture |
| Light is dim along the center, bright at ends | Tube is failing or the ballast is starving the lamp | Replace the tube; if the new tube behaves the same, check the ballast |
| One tube in a pair works, the other does not | Failed tube or a bad lamp holder at the dark end | Swap the two tubes; if the problem follows the tube, replace it |
If two of the issues above point at the ballast, the more durable fix is usually to retrofit the fixture to LED. The next section explains how that decision is made and what it involves.
Should you stay with fluorescent or retrofit to LED?
Many homes still have fluorescent fixtures because, when they were installed, fluorescent tubes were the most efficient option available. That is no longer the case. Modern LED tubes use roughly half the electricity of an equivalent fluorescent tube, last several times longer, and contain no mercury. The catch is that most older fluorescent fixtures were built around a magnetic ballast, and not every LED tube is compatible with the ballast still in the housing.
Three retrofit paths exist, and the right one depends on the condition of the fixture and your tolerance for rewiring.
| Option | Wiring change | Ballast kept | Best for |
|---|---|---|---|
| Plug-and-play LED tube (Type A) | None | Yes, ballast stays in the circuit | Tenants, rentals, or anyone who cannot rewire the fixture |
| Ballast-bypass LED tube (Type B) | Yes, ballast is removed and line voltage goes straight to the lamp holders | No | Homeowners who want a long-term, no-ballast solution |
| Direct-wire LED fixture replacement | Yes, the entire fixture is replaced | No | Old fixtures with cracked housings or unreliable lamp holders |
Plug-and-play is the easiest, but it carries a hidden cost: the original ballast still fails eventually, and a failed ballast can take the new LED tube with it. Ballast-bypass rewiring is more work but produces a fixture that is essentially maintenance-free for the life of the LED tube. If you are not comfortable working with line-voltage wiring, this is a good place to call a licensed electrician.
Choosing the right replacement tube
If you are staying with fluorescent for now, the four numbers on the old tube are the contract you need to honor.
- Length: measured pin-to-pin. A 48-inch tube is the most common residential size, but 24-inch and 36-inch versions are also used in under-cabinet and vanity fixtures.
- Diameter: T5 (5/8 inch), T8 (1 inch), and T12 (1.5 inch) all come in the same lengths. The diameter changes the pin spacing and the ballast family.
- Wattage: printed on the tube and on the ballast label. A 32-watt T8 is the standard, but energy-saving 25-watt and 28-watt versions exist and need a compatible ballast.
- Color temperature: 2700K-3000K reads warm and matches incandescent bulbs, 3500K-4100K reads neutral and is the most common in kitchens and offices, 5000K-6500K reads cool and is closer to daylight.
For most living spaces, a 3000K or 3500K T8 tube at the original wattage is a clean, predictable replacement. For utility spaces such as garages and basements, 4000K or 5000K gives clearer task light without feeling clinical.
Disposing of the old tube
Fluorescent tubes contain a small amount of mercury, and most U.S. states regulate their disposal. A few common-sense practices keep the cleanup simple.
- Keep the old tube intact; if you break one, ventilate the room and use stiff cardboard and tape, not a broom, to pick up the shards.
- Place the unbroken tube in a trash bag or, better, the original packaging from the new tube, and check your local household hazardous waste schedule.
- Many home improvement stores and municipal drop-off centers accept used fluorescent tubes at no charge.
- Do not put fluorescent tubes in curbside recycling; the mercury can contaminate other materials.
LED tubes, by contrast, contain no mercury and can usually go in the regular trash once the driver has been removed for separate electronics recycling in jurisdictions that require it.
A short comparison: fluorescent vs LED tube retrofit
Homeowners who are weighing the two paths often ask how the day-to-day experience compares, not just the spec sheet. The table below puts the practical differences side by side.
| Consideration | Stay with fluorescent | Retrofit to LED |
|---|---|---|
| Energy use (per 4-ft tube) | Around 32 watts | Around 14-18 watts |
| Lifespan | About 20,000-30,000 hours | About 50,000 hours or more |
| Warm-up time | Noticeable, especially in cold rooms | Instant on, even in cold rooms |
| Noise | Can hum from the ballast | Silent, no ballast in the circuit |
| Flicker | More common with aging ballast | Much less, especially on quality drivers |
| Disposal | Must follow mercury-handling rules | No special disposal in most areas |
| Upfront cost | Lower, especially for a single tube | Higher if rewiring the fixture |
| Long-term cost | Higher electricity and more replacements | Lower electricity, fewer replacements |
For a single kitchen fixture that works fine, replacing the tube is the right move. For a garage or basement with two or three aging fluorescent fixtures, the math usually favors a one-time retrofit.
Helpful background on how fluorescent lighting works
Fluorescent lighting produces visible light by passing an electric current through a tube filled with mercury vapor and an inert gas, which excites a phosphor coating on the inside of the glass. The ballast limits the current and, in older fixtures, also provides the initial voltage spike needed to strike the arc. Modern electronic ballasts do the same job at a higher frequency, which is one reason they tend to be quieter and to extend tube life compared with older magnetic designs. If you want a deeper look at how the older, simpler form of electric lighting was developed and why it eventually gave way to more efficient technologies, the history of the incandescent light bulb offers useful context for how different lamp families evolved in parallel.
For practical guidance on choosing and using modern LED tubes as direct replacements, the U.S. Department of Energy’s lighting research program maintains current resources that explain the compatibility issues between LED tubes and older ballasts in plain language, and the page on lighting choices from the Department of Energy is a reliable place to start when you are weighing a retrofit.
Frequently asked questions
How do I know which fluorescent tube to buy as a replacement?
Read the label printed on the old tube. Match the length pin-to-pin, the diameter (T5, T8, or T12), the wattage, and the color temperature. The four numbers together identify the exact tube, and matching all of them avoids the flicker and short-life issues that come from a close-but-wrong fit.
Do all fluorescent fixtures use a starter?
No. Only older magnetic-ballast fixtures with preheat or rapid-start ballasts use a small twist-in starter. Newer electronic-ballast fixtures and most T8 systems do not. If your fixture has a starter, it is usually a small gray or black can near one of the lamp holders, and it is worth replacing at the same time as the tube if the fixture has been slow to start.
Can I replace a fluorescent tube with an LED tube without rewiring?
Yes, if you choose a Type A plug-and-play LED tube that is listed as compatible with your existing ballast. The ballast stays in the circuit and limits the current. The trade-off is that the original ballast can still fail, and a failed ballast can shorten the life of the new LED tube. For a long-term solution, ballast-bypass wiring or a full fixture replacement is more reliable.
What should I do if a fluorescent tube breaks during removal?
Ventilate the room, keep people and pets out, and clean up with stiff cardboard and sticky tape rather than a broom or vacuum. Place the shards in a sealed bag and check your local household hazardous waste rules for disposal. Avoid using a household vacuum, because it can spread mercury vapor through the room.
How long do fluorescent tubes normally last?
Most residential T8 tubes are rated for about 20,000 to 30,000 hours of use, which works out to several years in a typical kitchen or hallway. T12 tubes and older magnetic-ballast setups tend to fail sooner. Frequent on-off cycling shortens life more than leaving the tube on for long stretches.
Why does my new fluorescent tube flicker or take a long time to start?
The usual causes are a worn starter, a failing ballast, low ambient temperature, or a tube that is not fully seated in the lamp holders. Reseat the tube first, replace the starter if your fixture has one, and if the problem continues, test the tube in another fixture to rule out a bad ballast.
Is it worth replacing the whole fixture instead of just the tube?
If the fixture is more than 15 or 20 years old, the lamp holders are cracked, or the ballast is buzzing and discolored, a new fixture is often the better long-term value. For a relatively new fixture in good condition, a tube or tube-and-starter replacement is the right scope of work.
Can I put a higher-wattage tube in the same fixture?
No. The ballast is designed for a specific wattage, and a higher-wattage tube can overheat the ballast, the lamp holders, and the wiring. Stay with the wattage printed on the ballast label or the old tube.
How do I tell if the ballast is bad?
Common signs are a buzzing sound, a faint burning smell, darkening on the ballast housing, slow or failed starts even with a known-good tube, and a tube that blackens at the ends within weeks of installation. If two of these signs are present, the ballast is the more likely culprit than the tube.
Are fluorescent tubes being phased out?
Many common fluorescent tube types have been or are being restricted by U.S. efficiency rules, and LED replacements have become the default for new installations. Existing fixtures are still legal to maintain, and replacement tubes remain widely available, but a long-term plan to retrofit makes sense for fixtures that see heavy use.
Before you close the fixture back up, run the new tube for five minutes and watch for the things you cannot see at the moment of installation: a slow start, a faint hum, or a flicker that settles into stable light. Those first minutes tell you whether you have solved the problem or just papered over it. A working tube, a quiet ballast, and a clean set of lamp holders will give you years of stable light, and the next time the room goes dark, you will know exactly what to do.